PhotobucketPhotobucketPhotobucketPhotobucketPhotobucketPhotobucket
Showing posts with label Christmas crafts. Show all posts

Friday, December 2, 2011

Weekend Craft Soiree {30}

Hey there, everyone! I'm so happy that you stopped by the Weekend Craft Soiree & Blog Hop here at Homemaker in Heels! Hopefully you had a great week and have an even better weekend planned! I didn't post any features last weekend, so tonight I am sharing features from the last 2 parties. 


Rebecca at The Crafted Sparrow did a beautiful job on this No-Sew Ruffled Tree Skirt!


Sarah at Alderberry Hill shared her Birch Bark Christmas Trees. I think they just exude rustic charm!


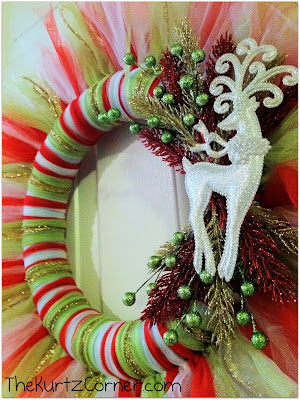
Audra at The Kurtz Corner did a fabulous job on her Tulle Christmas Wreath! Isn't it just so fun and pretty?!


I love these Sweet & Simple Ornaments from Kim at Too Much Time on my Hands! Simply Charming!


This Whipped Eggnog Frosting recipe from Jenn at Eat Cake for Dinner sounds amazing, REALLY amazing! 


And last, but certainly not least is this tutorial for transferring images to wood using a wood burning tool from Kim at Maiden D'Shade. This technique could definitely be used to make some very special Christmas gifts!


Thank you all for sharing your fabulous projects!
I hope you found some new friends while you were here!
If you were featured this week, feel free to grab a "featured" button.


Party Rules:
  • Become a follower of Homemaker in Heels. Let me know, so I can follow you back! 
  • Link up your favorite craft, DIY project, recipe, tip, post... you get the idea. Please link to the actual post URL, **NOT YOUR MAIN URL**
  • Do NOT link up items in your Etsy Shop, unless you have a tutorial
  • PLEASE mingle a little while and leave a comment on at least the 2 projects posted before yours. This is a blog hop, so follow a couple others and if someone follows you, be sure to return the favor and follow that person back.
  • Grab a button or link back to Homemaker in Heels somewhere on your blog.


Saturday, February 19, 2011

Pretty Decoupaged Ribbon Picture Frame

   First, I painted my frame this pretty green color. I actually combined 2 colors to achieve this shade. The colors I used were Soft Apple(Folk Art) and Citrus(Anita's).  I painted 2 coats, mostly paying attention to the inner and outer edge since I knew the ribbon would cover the remainder of the frame.

   Once the paint was dry, I then had to cut the ribbon to the appropriate lengths to fit the frame. I used scotch tape to temporarily hold this into place. Since this still left a little too much uncovered space on the frame, I decided to take this pretty sheer fuschia colored ribbon around the inner edges. About half of this ribbon is actually covered by the wider ribbon. I angled the ends of the ribbon to "meet" at each corner. Getting the correct length and angle was actually the trickiest part of the entire project. Next time I will use a protractor and cut the ends of the ribbon at a 45 degree angle for to create the corners. That should make this step much easier.

   Since I got some of the green paint on the backing of the frame, I decided to combine Soft Apple and Deep Ocean Blue (both are Folk Art Brand) and go ahead and paint it a color that also coordinated with the ribbon. It will now be pretty to look at even before it has a picture in it. :)
   Ok, this step was the next tricky part. I turned the ribbon over (still taped in the shape of the frame) and used Mod Podge to glue my other ribbon into place with about half of the width on the underside of the wider ribbon. Any tape that was used on that side, I then removed. Next time I am going to try sewing the corners together. This is the first time I have Mod Podged a frame with ribbon like this, so I just want to let you all know of any steps that I believe could have made this a little easier and less time-consuming. :)


   Once that awful part was finished (ok it really wasn't that bad, it just helped teach me a little patience which definitely is not my strongest virture :)), I place the ribbon onto the frame and straightened it into place. I then place a piece of scotch tape on one end to hold it into place. On the opposite end as the tape, I painted a coat of Mod Podge(which I am becoming SO addicted to!) to the first few inches. I did this a little at a time across the entire frame and then just removed my piece of tape.
 
   At this point, my frame could have been completely finished, it was beautiful by the way. I wanted to see how it looked with a couple of coats of Mod Podge over the top of the ribbon. This step is entirely up to you :). I am very please with the completed results, although I am not sure if I should have apply the last coats of Mod Podge when using the sheer ribbon. If made it bubble just a little. This is barely noticeable and gives it a handmade look, so it still turned out quite lovely if I may say so myself! Overall, this was an easy and fun project and looks so pretty for Spring and Easter. I think I will give it to my sweet niece, Anna Grace. :) Now, I want to go out on this beautiful day and buy lots of pretty ribbon so I can make more! :)

This post has been linked up at


all crafts Handmade Projects ~ Add Yours!

Wednesday, February 16, 2011

Pottery Barn Inspired Bulletin Board


  I absolutely love this! It was so easy to make and personalize just by choosing a different fabric print! I think these would make really great gifts! I actually got the idea when I was looking at my Pottery Barn Catalog the other day. I loves they idea of making a bulletin board that also looked decorative. When I saw it, I knew it couldn't be too difficult to make. I was definitely not going to pay $129 for one. That is the price of the board in this picture.
Striped Pinboard, 24 x 32", Distressed Ivory finish
 
   I love this one, but I am a little obsessed with anything damask right now, so of course that is the print I chose to use. I took a 14 x 16 picture frame and removed the glass. I then took the backing and traced around it onto a piece of corkboard. I realized the roll of corkboard I purchased wasn't quite thick enough so I repeated this to have 2 sheets so that it would be thick enough for the thumb tacks.
   One of my favorite parts of this board is the fabric! It only cost me $2! I absolutely LOVE all of the bandanas they have at Hobby Lobby! They have SO many prints to choose from and they start at .99! It is so much easier and cheaper for little projects like this than buying the same print by the yard. I am actually becoming a little obsessed! I have SO many! I will share pictures my growing obsession, I mean, collection, soon. :) 
   Anyways, getting back to the bulletin board, I simply traced around the fabric the same way I did the corkboard and cut it out allowing about an extra half inch around the edges so that I could sortof tuck it around the back part of the frame. I then took the 2 pieces of corkboard and stacked them on top of the backing of the frame. I used a little glue so that the cork would stay in place and not "bubble" out.
   Next,  I placed the fabric on top. Then, I put the ribbon where I wanted it and wrapped it around just a little and taped it in place onto the back. The ribbon is great for pictures!
   Finally, I just framed it and now I have this gorgeous new bulletin board! I spent so much less than a similar one would have cost me at Pottery Barn! I actually love it more! :) If you decide to make one, please share pictures with me! I would love to see them!

I have linked this post at these awesome linky parties!
Thirty Hand Made DaysFancy This

Sunday, February 13, 2011

Memo Cork Board with Embellished Push Pins


   The next few weeks, I will be working on practical decor for my craft room. This is an easy project that can be made pretty quickly!
All you need is:
  • a cork board
  • fabric
  • craft paint
  • thumb tacks
  • embellishments for your thumb tacks
  • hot glue gun

   Just paint the frame of your cork board a color that coordinates with your fabric. This color is a new favorite of mine, pink melon by Folk Art. You will soon learn that I am totally NOT an orange person, but I am trying to start using melons more, it's all about baby steps. :) (I think it is because being a fair-skinned blonde, it washes me out when I wear it, so I just carry this no orange rule into every aspect of my life, haha. Do any of you do this with a color you can't wear?)  Anyways, this have just enough pink to be quite lovely! I painted about 3 coats, waiting until each coat was almost dry before applying the next coat.
   Next, cut out your fabric to the size of the actual cork board, allowing about an exra half inch around the edges. Just place this on your board and tuck your edges all the way around. Your Memo board is now complete!
   If you want to make a couple of pretty tacks, just take a thumb tack and hot glue your button, bead, whatever you choose, to the thumb tack and thats it! I used buttons, by the way. Easy huh? Hope you all have a blessed day! :)

~Crystal :)

Sunday, December 12, 2010

Candle Scented Pine Cones~ Perfect gift for friends who have a fireplace or wood-burning stove!


 This is what I found when I went to the attic a few weeks ago to bring down my Christmas decor. This one and many more just like it. I know I can't be the first person this has ever happen to, but I definitely learned my lesson!


** Tip of the day: NEVER store your candles in an area that may become very warm in the summertime(or any time for that matter)! :)
  
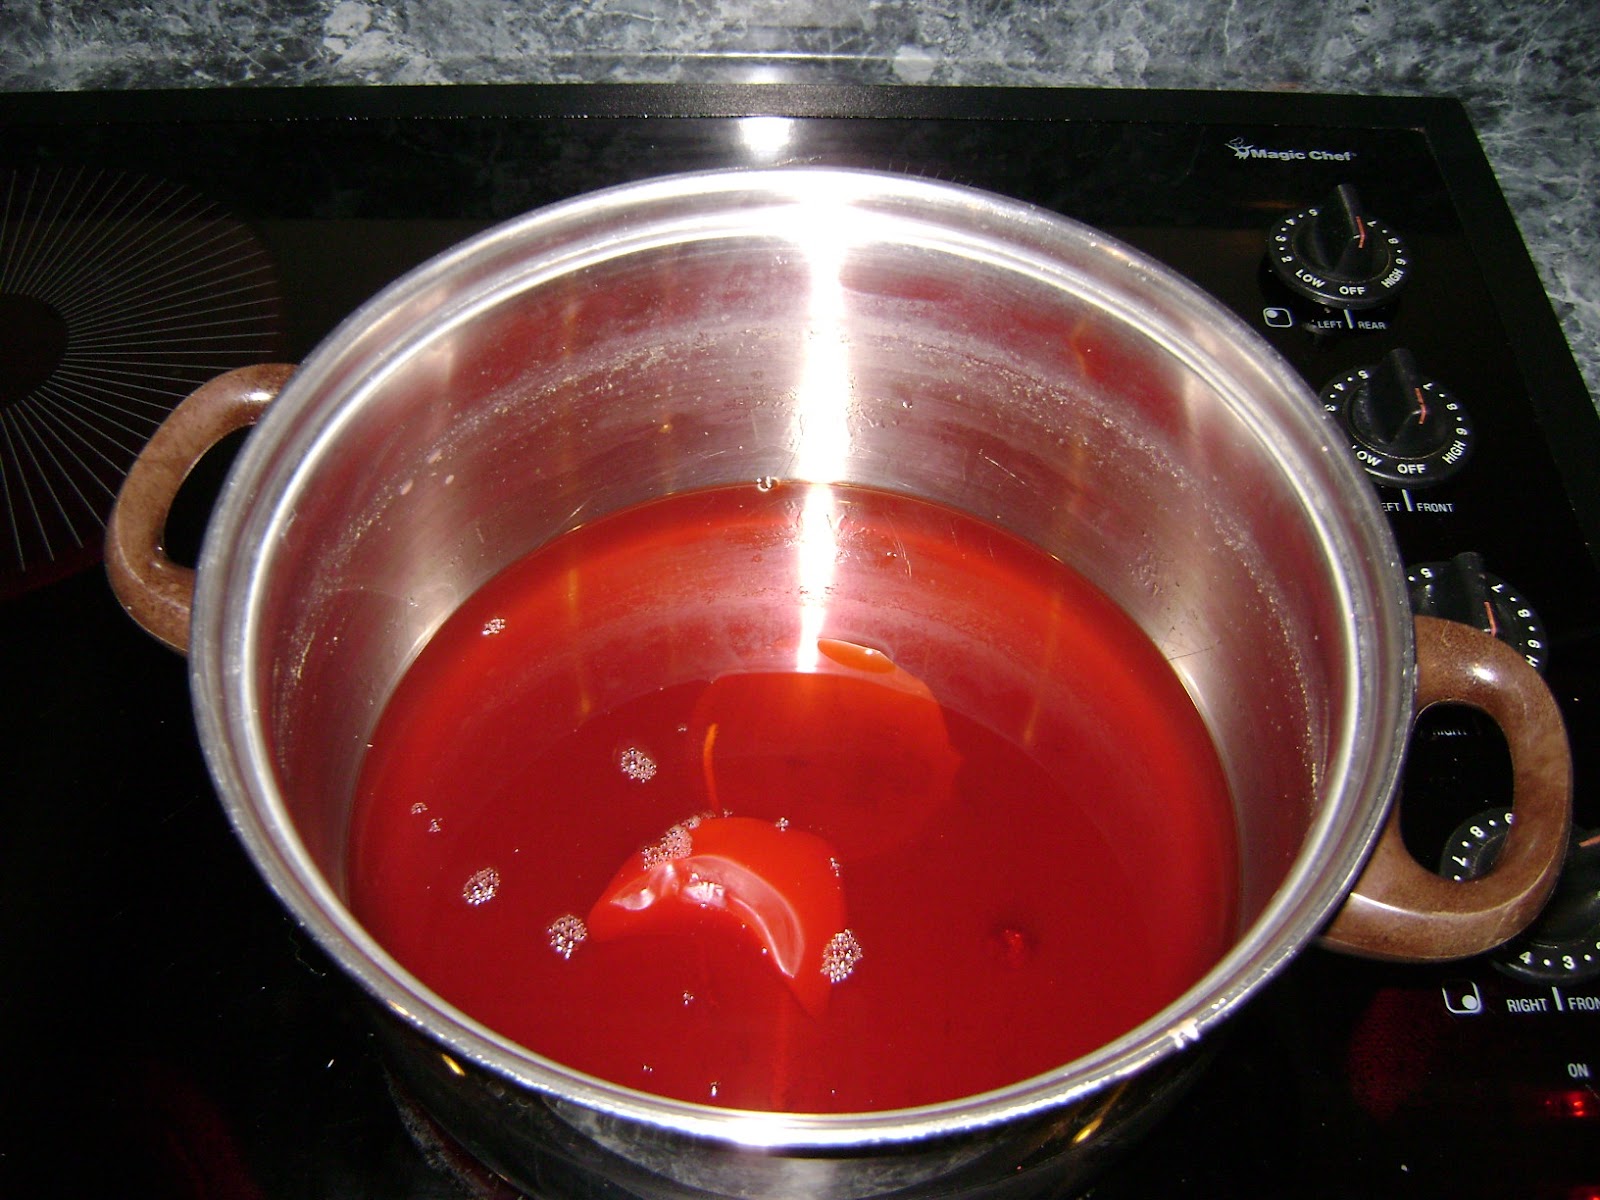
  Anyways, I just hated having to throw all of my candles away, so I decided to put what was left of  these candles to good use. (You can also use old candles that have a wick that is already burned or new candles.) I decided to melt this wax and dip pine cones for a great-smelling addition to a cozy fire!
   
So here is what you need to do to make these:
  • Gather up (or purchase) lots of pine cones. You also need wax paper.

  • Put the candle into a boiler and melt it on low heat. Be sure to remove any decorative accents  on the candle.

  • Dip the pine cones into the candle wax (with tongs) and place them on wax paper to dry. I let the first coat dry and then dipped them once more.

    • Give them about 15 minutes to dry. You can add a festive touch and sprinkle them with glitter while they are still wet.  

       Now wasn't this a much better idea than just throwing all of those old or "ruined" candles away! The next time you build a cozy fire in the fireplace, throw in a couple of your wonderful dipped pine cones and enjoy the wonderful fragrances! These also make the perfect gift for those friends who already have it all! :)
    I hope all of you fabulous homemakers have a wonderful, cozy evening!

    ~Crysta :)

    Saturday, December 11, 2010

    Peppermint Tabletop Topiary Tree

       I just love any kind of topiary tree! I want to do an ornament topiary soon and post, but the idea of using peppermints instead of ornaments came to me tonight, and as you will soon figure out, I am pretty random, so I decided to create this instead! :) Plus, I just love the little soft peppermints and I must say, I ate several as I was making this little tree, so it was much more fun than using the ornaments. Ok, before I continue to ramble on, here is how you make this cute little tree.

    Here is what you need:
    • wooden dowel or stick
    • white paint
    • red paint, optional
    • foam to fit snugly into pot
    • peppermint candy
    • hot glue gun
    • foam balls
    • small ornaments, peppermint, confetti~something to put around the bottom of the topiary in the pot
    • something to use as a pot/base. I used a candleholder and the wrapped coordinating scrapbooking paper around it.
       Paint your dowel white and paint the foam balls red, if you wish.(I'm sure it will still look fine if you leave these white, it is just a personal preference:)) While the paint is drying make sure the foam you have for the base fits snugly. I had to shave mine around the edges a little to make it fit. After the paint dries, make a hole all the way thru one of the balls and only halfway thru the other with the dowel. Glue your peppermint pieces all over the balls around the holes that you have just made. After you finish this, take a rubber band and wrap several times around the dowel and push it down to where you want the bottom part of the tree to stop. This will keep it from sliding down too far. Stick the dowel into your foam base in the middle. I used my hot glue gun around it to secure it so it wouldn't become loose. Then slide the balls onto your dowel. Put some sort of a filler at the top of your "base". I used little red ball ornaments. Now tie a pretty ribbon around the bottom.
    Now admire how pretty your little tabletop Peppermint topiary tree is!
    I hope you all are having a warm, cozy evening! :)
    ~Crysta :)


    Easy Ribbon Tree


       So I am just a little behind this year decorating for Christmas. Ok, so I am a lot behind. It has just been one hectic month! So, I finally got the chance to make a Hobby Lobby run last night, so may the decorating begin!
       This little ribbon tree is one cute, easy, last minute kind of Christmas decor and I just adore it! It takes hardly any time or supplies and you can just use whatever scraps you already have on hand, too.

           What you need:
    • styrofoam tree
    • ribbon, can be a variety of colors and widths
    • straight craft pins
    • scissors
    1. Cut your ribbon into 4 inch strips (hint - to speed up this step make yourself a 4 inch template out of card stock and wrap your ribbon around the card and then just insert your scissors into the ends and cut them all at once)

    2. Next, pin the first row of loops to the tree making sure you leave about 1/4 - 1/2" overhang at the bottom. I like to alternate the wider and narrower ribbons, overlapping as I go, to make sure no Styrofoam is showing on the bottom.


    3. Then, pin the next row of loops so that the bottom of you loop is covering any styrofoam or opins from the first row. For a fuller tree pin the next row even closer to the bottom. The great thing about pinning the loops instead of gluing them is that if a row looks off or you want to add more, it's easy to move the ribbons. Continue this until you reach the top and the tree is covered.
    4. Top with a bow, ornament, pick, whatever you like! Now just admire how crafty you are! Wasn't that
     easy?! :)