PhotobucketPhotobucketPhotobucketPhotobucketPhotobucketPhotobucket
Showing posts with label crafts. Show all posts

Thursday, July 21, 2011

Cute Bookmark Tutorial by Jenni from Kissed By a Frog

   Happy Thursday, y'all! I am so excited that the sweet Jenni from Kissed by a Frog has a wonderful guest post for us today! If you aren't following her blog already, you are really missing out and I hope you will stop by Kissed by a Frog and show some love! I just love it! Here's Jenni...

kissed by a frog
   Hello Homemaker in Heels readers! I am so excited to be here with you all today! I just LOVE Crystal's blog! Every time I stop in for a visit I feel so happy! She and her blog just exude happy bubbly wonderfulness~ Don't you think?
   Anywhoooooo, I live with my husband and our 4 wonderful children in Kansas City. I blog about all sorts of things but I am really just getting started and trying to find my niche.  You can find information about us renovating our house and making it a home, kids crafts, educational ideas, gift ideas, and whatever else seems to tickle my fancy that day. I started blogging in June as a way to journal, as I try to start my own business and keep my house running. So far, so good. Once a week I feature my favorite blogging buddy. I have met some amazing people through blogging! And every Thursday I have a Linky Party. But enough about me! LET'S GET OUR CRAFT ON!!!
   I LOVE craft projects that are easy enough to finish while watching How to Train Your Dragon (which I watch daily btw) and that I can have my kids be involved. I had planned a really cool tutorial for you all but it was a total craft FAIL in my book so I must try it again and see what went wrong. So, I decided to show you all a SUPER EASY, super CUTE craft that you can make in literally a minute.

ENVELOPE BOOKMARKS
Supplies needed:
Square Envelopes (mine are 4 ¾ x 4 ¾ )
Stickers or Embellishments of your choice
A paper cutter or scissors
A Pencil
Seriously that is all you need!
Here are your supplies
Measure, using your book of choice, 
where you would like your book mark to fit 
over the corner of your page.   
See my mark on the right.
Line up your mark with your paper cutter or scissors
and CUT. 
If you would like a more precise corner measure
both side equally, I measured 10" on one side and ten
on the other.

Line up both marks and CUT. 
OR if you cannot find a pencil or pen or you
just don't want to, line up the envelope like a diamond
and cut from one corner to the other.
See how easy that is!!! And think about how you
can recycle or up-cycle all that junk mail you get!!
Okay, now here come the hard part!
Add your sticker and embellishment where you would
like and voila...
ALL DONE!
Aren't these little Robot Dudes soooo
cute??
I added a leftover flower to one as well!
A little to big for this book.
Fits just right! Now how stinking easy was that??
Check out these that my 6-year-old daughter made...

She used her favorite craft book:
water colors, some of her stickers, and a pen to make hers.
HAHA She made a frog! LOVE it! 
Her Stickers. She said she added the red ribbon
because she is a real princess. TOO CUTE! 
And a mermaid and her father with a fish.
Aren't they cute!!

Thanks for having me over to play, I hope all you loverly readers enjoyed my tiny little tutorial!
I hope you will stop by Kissed By a Frog when you have some time and check out some of my projects and tutorials. Here is just a little sampling of what you will find:
My most popular tutorial, a father's day gift:


getting away frog BORING BROWN and adding
some fun COLOR to our lives!!

Every Monday- I blog about stuff for
Mamas, even educational stuff.

tutu ever!

  
 What a cute and fun idea! These bookmarks would make CUTE gifts! Thank you SO much for stopping by, Jenni! Don't forget to stop by and visit her sometime at Kissed by a Frog! Hope you all have a wonderful day! :)

Thursday, June 2, 2011

DIY Scrappy Rag Wreath


    Lately I have been "summerfying" my bathroom and I have got to create a few things to help decorate the walls. It has been a while since I have made a wreath, so I decided to throw together an easy one! It didn't cost me anything to make!  That is my favorite kind of project!


Materials Needed:
  • Fabric scraps ( about 1" wide x 6" long)
  • old wire hanger
  • a good movie or tv show... you will be tearing strips of fabric for a little while
   First, I twisted my hanger into a circle for the wreath. I made it about 10 inches wide. Don't worry, it doesn't have to be perfect, lots of fabric will be covering the wire soon!

   After I finished tearing my fabric strips, I began tying them around the wreath, then pushing them together. I also used some ribbon, ric rac, and tulle. I continued this until I was completely finished. I used aqua, pink, yellow, and green fabrics. I decided to add this little scripture rock using twine. It actually was a keychain before! One great thing about a rag wreath is that you can do one for any season, just by using different colors!


This hand towel was the inspiration for my color choices.


I hope you are having a wonderful week! :)

I'll be linking here: http://tidymom.net/
and more parties listed on my sidebar


Wednesday, February 16, 2011

Pottery Barn Inspired Bulletin Board


  I absolutely love this! It was so easy to make and personalize just by choosing a different fabric print! I think these would make really great gifts! I actually got the idea when I was looking at my Pottery Barn Catalog the other day. I loves they idea of making a bulletin board that also looked decorative. When I saw it, I knew it couldn't be too difficult to make. I was definitely not going to pay $129 for one. That is the price of the board in this picture.
Striped Pinboard, 24 x 32", Distressed Ivory finish
 
   I love this one, but I am a little obsessed with anything damask right now, so of course that is the print I chose to use. I took a 14 x 16 picture frame and removed the glass. I then took the backing and traced around it onto a piece of corkboard. I realized the roll of corkboard I purchased wasn't quite thick enough so I repeated this to have 2 sheets so that it would be thick enough for the thumb tacks.
   One of my favorite parts of this board is the fabric! It only cost me $2! I absolutely LOVE all of the bandanas they have at Hobby Lobby! They have SO many prints to choose from and they start at .99! It is so much easier and cheaper for little projects like this than buying the same print by the yard. I am actually becoming a little obsessed! I have SO many! I will share pictures my growing obsession, I mean, collection, soon. :) 
   Anyways, getting back to the bulletin board, I simply traced around the fabric the same way I did the corkboard and cut it out allowing about an extra half inch around the edges so that I could sortof tuck it around the back part of the frame. I then took the 2 pieces of corkboard and stacked them on top of the backing of the frame. I used a little glue so that the cork would stay in place and not "bubble" out.
   Next,  I placed the fabric on top. Then, I put the ribbon where I wanted it and wrapped it around just a little and taped it in place onto the back. The ribbon is great for pictures!
   Finally, I just framed it and now I have this gorgeous new bulletin board! I spent so much less than a similar one would have cost me at Pottery Barn! I actually love it more! :) If you decide to make one, please share pictures with me! I would love to see them!

I have linked this post at these awesome linky parties!
Thirty Hand Made DaysFancy This

Saturday, January 22, 2011

No-Sew Rosette~ Fabric Flower


   You will not believe how easy these little flowers are to make! The original tutorial came from sweet Bev over at Flamingo Toes and this is just my version...  You can put them on anything! Picture frames, shoes, scarves, hats, notebooks... the possibilities are endless!

          Start with a strip of fabric about 1 1/2″ to 2″ wide. Make a small knot in one end.


   Now, just hold the knot in your left hand and with your right hand, begin twisting the strip and wrapping it around around the knot.

   Continue wrapping and twisting, using your left hand to hold the rose in place as you go. Depending on the size of your flower, you may want to use a little fabric glue or your hot glue gun as you go, to hold it together a little better.


   Clip your fabric when you get the rose the size you want and tuck the end underneath. Glue the rose to a felt circle slightly smaller than the rose. This will hold all the folds in place.


You can leave them as-is, or you can dress them up a little with buttons or beads...


Decorate a Picture Frame with Paper... and some "Homestate" football pride!


This picture frame is a little gift I decided to create for a friend who went to last year's ROSE Bowl/ BCS Championship game. I am going to get a picture of her from the game and give to her. See, this was the game in which "our" (being that I am an Alabama girl) Crimson Tide won the National Championship. So, rather than write Rose bowl or something on the frame, I decided to just use houndstooth scrapbooking paper, and create a little red Rosette to embellish the frame with. Sort of symbolic for the Rose Bowl, ya know? If you know anything about Alabama football, you will know that anything Houndstooth is something that represents the Crimson Tide. This comes from the hat that the great Coach Bear Bryant always wore, and has just "stuck" as sort of a tradition. What I love about this frame is that whether you are an Alabama football fan, or not, it is so cute! Houndstooth is just a classic print that has made a comeback the past couple of years. Anyways, let me show you just how I made it, before I continue to ramble all day.

What you will need:
  • Unfinished photo frame
  • scrapbooking paper
  • paint
  • mod podge

First of all you need to paint the edges of the frame with the paint color of your choice, I used black. (You may can see that I originally used white, then realized black would look better) I painted the outer and inner edges. Wait for this paint to dry completely.


Next, take your scrapbooking paper, and lay face down. Place your frame on top of it and trace around the edges with a pencil. Cut this out and then glue to your frame. I used a paintbrush and applied Mod Podge all over the top of the frame and press the paper onto it, making sure it was straight.


Now, once this dries take a sharp blade, like the X-Acto knife I am using here, and trim any excess paper from the edges.


Finally, all you do is apply a coat of Mod Podge over the top, allow it to dry, and that's all there is to it! Now just make your flower and hot glue it on! 
Go here to find out how to make the No-Sew Fabric Rosette. You will not believe how easy it is!


Hugs~
Crysta:)

Sunday, January 16, 2011

I love this ADORABLE Felt Heart Wreath from Robin at All Things Heart and Home!


                   http://www.allthingsheartandhome.com/2011/01/16/adorable-felt-heart-wreath/
  
   As soon as I saw this lovely heart wreath, I just had to share it! I love the deep red color, the Valentine in the middle... it is just so classic for Valentines Day, in my opinion! :) I just love everything about Robin's blog All Things Heart and Home, and she did not cease to amaze me this time! While you are there, be sure to look around! I promise you will love it as much as I do! :)

~Crysta :)

Thursday, January 13, 2011

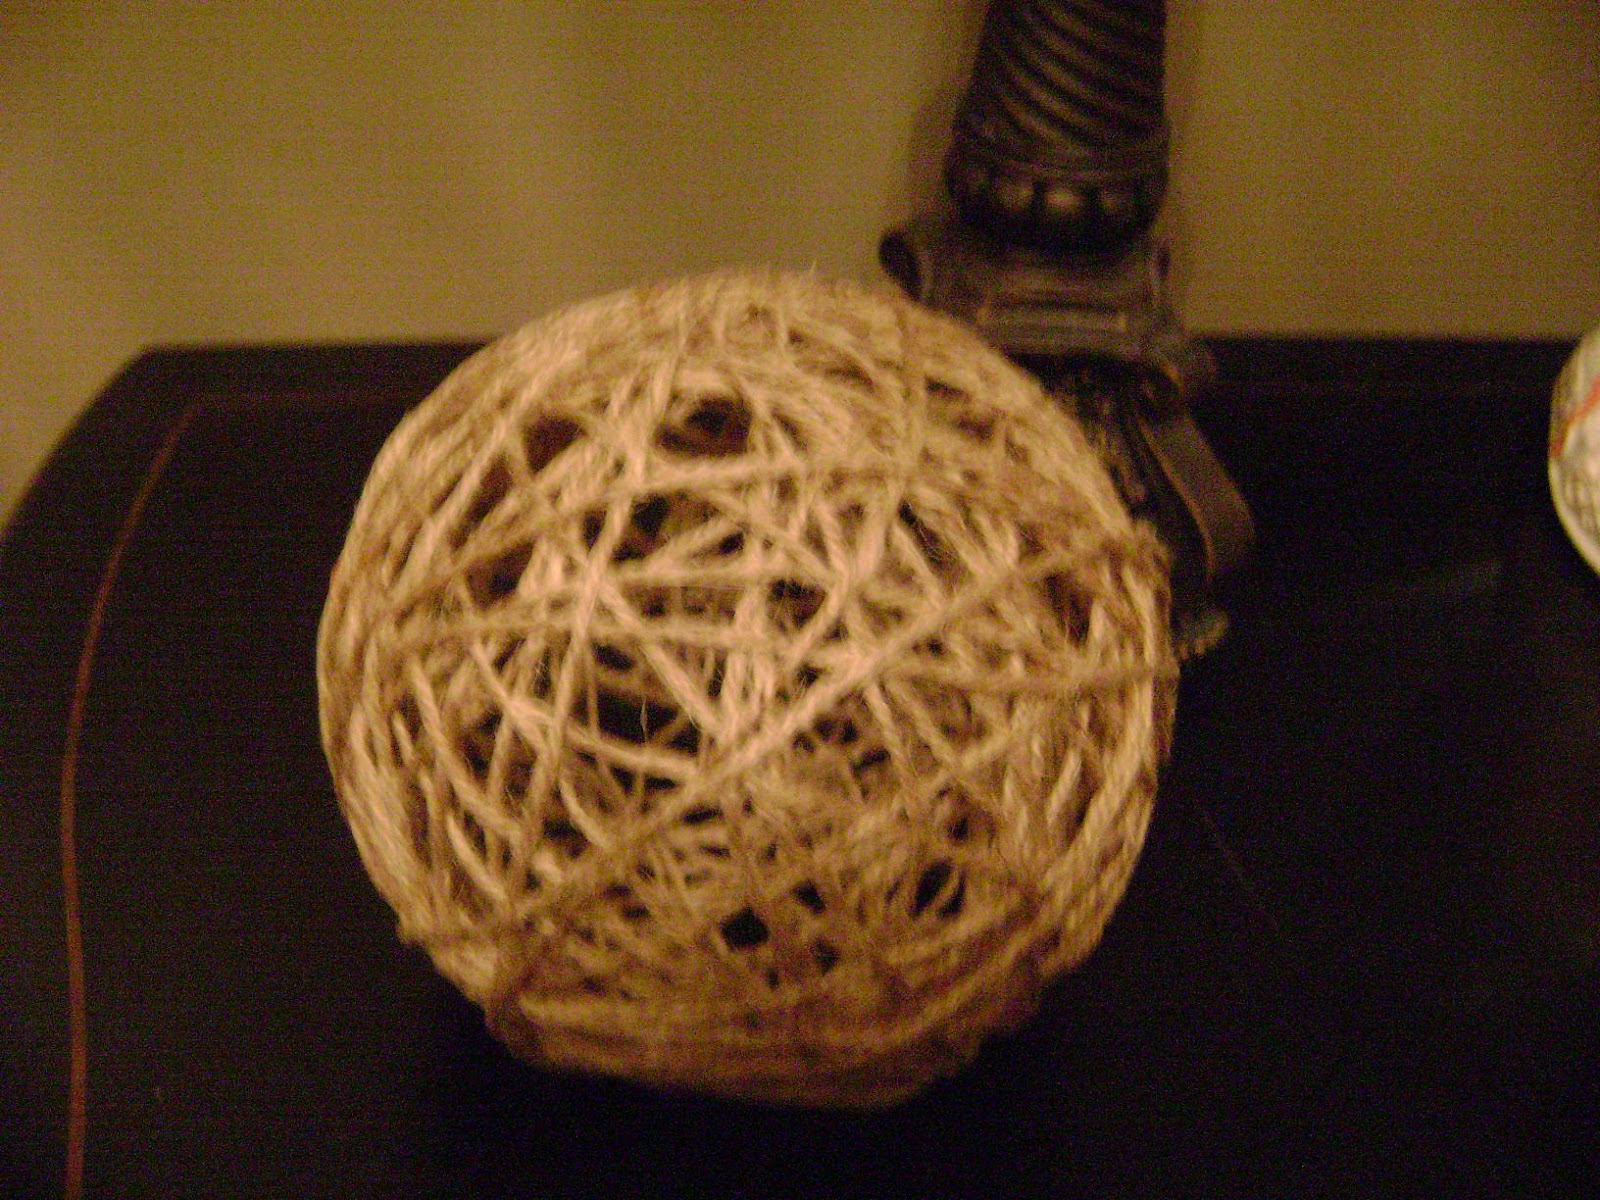
DIY Easy Decorative Twine Ball


I am finally back to my blog after being under the weather for the past week and snowed in at that! I am feeling much better and had to share this easy home decor project with you! I plan to make several in different sizes and put in a basket on my table in my foyer. I think these twine balls are just beautiful!

Here is what you need:
  • twine
  • Elmers glue or Modge Podge
  • water
  • balloon


 Now, all you have to do is mix your glue and water, half and half. Blow up your balloon.
Begin unrolling your twine into your glue mixture. As you do this, begin wrapping the twine around the balloon.


 Do this until you have the amount of twine you prefer. Put as much as you want, just make sure you leave some holes large enough to pop and pull out the balloon.


Now, just let it dry. I let mine dry overnight. Once it is completely dry, just pop the balloon.
Now, just pull your popped balloon out, and you have your beautiful twine ball!


I hope you love these as much as I do! Have a wonderful day!
    Hugs!
~Crysta:)

handmade projects